


14 Travel Marketing Case Studies to Inspire Your Next Campaign
Travel and tourism companies are relentlessly innovating their marketing strategies to attract global travelers. Engaging travel marketing case studies show just how transformative well-crafted campaigns can be, not just in attracting wanderlust hearts but also in boosting local economies worldwide. For instance, the travel and tourism industry contributed an impressive $8.9 trillion in 2019, as per the World Travel & Tourism Council. This number emphasizes how important the industry is to the world’s economies.
Furthermore, with the advent of cutting-edge technologies, destinations using virtual reality experiences witnessed a 190% surge in bookings, highlighting the powerful impact of innovative travel marketing techniques.
Through this article, let’s explore various examples of travel marketing, providing you a wealth of inspiration for your own campaigns in the worlds of tourism marketing case studies.
What is Destination Marketing?
Destination marketing is the art and science of promoting a place to increase its appeal as a travel destination. The goal here is to show the world a location’s unique attributes, culture and experiences to a targeted audience, aiming to convert interest into actual travel bookings. At its core, destination marketing seeks to create a beautiful narrative that speaks to the hearts of potential travelers, enhancing both its visibility and desirability.
Effective destination marketing involves a few key elements; strategic advertising, public relations, and digital engagement. These elements are considered integral to communicate the right message to the right people at the right time. For tourism marketing case studies, this means focusing on specific outcomes like increased visitor numbers, prolonged stays, and improved perceptions of the destination.
The strategies employed in destination marketing can vary widely but often include digital marketing, partnership and collaboration and community involvement. The primary goals are to boost tourism, extend the tourism season, and maximize economic benefits while managing the environmental footprint of increased visitors.
Inspiring Examples of Travel Marketing Case Studies
Each of the following tourism marketing campaigns provides valuable lessons in the use of authenticity, creativity, and strategic planning in travel marketing. We believe marketers can gain insights into developing destination marketing campaigns that are both inspiring and immensely effective by examining these tourism marketing case studies. Let’s get started!
1. New Zealand’s “100% Pure New Zealand” Campaign
This campaign is a great example of using the country’s natural landscapes to attract tourists. Launched in 1999, the ongoing marketing efforts have helped present New Zealand as a top destination for nature lovers, adventure seekers, and cultural enthusiasts. The result? A consistent increase in tourism that contributes significantly to the country’s economy.
2. Visit Sichuan by Crowd
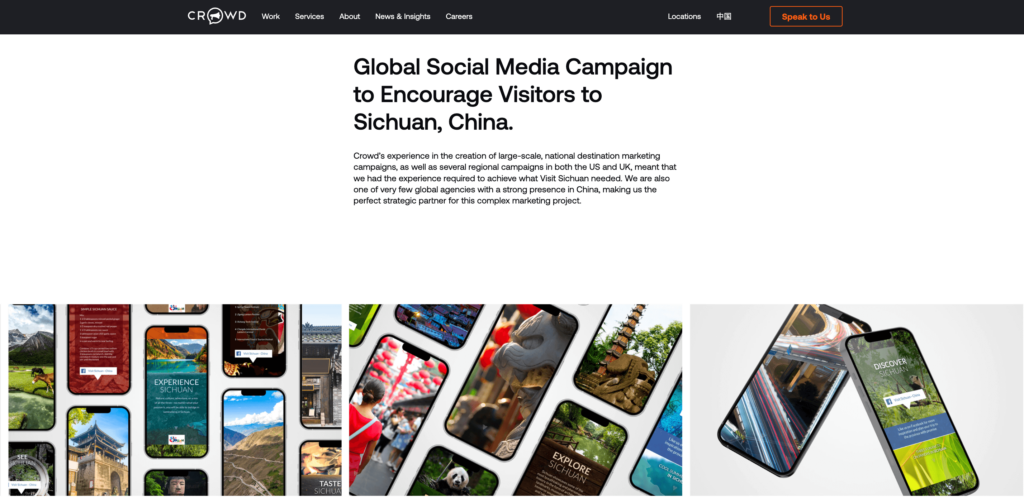
Crowd’s global social media campaign for Visit Sichuan is one of the best destination marketing campaigns, tailored to pique the interest of a diverse international audience. With their vast experience in national and regional campaigns, and a strong presence in China, Crowd was uniquely positioned to deliver a culturally nuanced and engaging campaign for Sichuan. They created a series of ten HTML5 microsites, each offering interactive experiences tailored to specific interests using Chinese technology, such as WeChat and Mini-programs. While making Sichuan more accessible, this campaign also reshaped global perceptions of the region as a welcoming and fascinating part of modern China, proving the importance of working with a destination marketing agency.
3. Iceland’s “Inspired by Iceland” Campaign
Following the 2010 eruption of Eyjafjallajökull, Iceland turned a potential disaster into a tourism boom. Their campaign highlighted the country’s volcanic beauty, inviting the world to explore its unique landscapes. While increasing visitor numbers, the campaign also spread visitor spend across more regions and seasons, stabilizing the economy.
4. The Lookout Sri Lanka Campaign by CEEK
The Lookout Sri Lanka campaign, focused on establishing the newly built luxury private villa as a premier destination in Sri Lanka. With the rise of social media usage domestically, the campaign included website development, SEO, social media marketing, influencer marketing, content creation, and paid targeting to enhance brand visibility. High-quality imagery and engaging content on social media platforms showcased the villa’s luxury and beauty, attracting significant attention and establishing it as a desirable location for influencers and tourists alike. This comprehensive digital approach, handled by CEEK, helped The Lookout become a sought-after spot for luxury stays in the region.
5. Australia’s “There’s Nothing Like Australia”
Australia’s tourism marketing approach highlights the incredible variety of experiences the continent has to offer, from breathtaking natural landscapes to vibrant urban centers. This strategy has effectively appealed to a wide range of demographic groups, resulting in a consistent rise in international visitors.
6. Tourism Victoria by War Room Inc.
The campaign for Destination Greater Victoria is another example for best destination marketing campaigns. Managed by War Room, this strategic endeavor targeted affluent and influential travelers from cities like Vancouver, Calgary, and even as far as San Francisco and Seattle. The campaign was ingeniously divided into three phases, each tailored to draw visitors into the unique allure of Victoria, B.C. with its perfect blend of old-world charm and new-world experiences.
7. Incredible India
In this tourism campaign of India, Incredible India, aims to show the world the country’s rich cultural heritage and historic landmarks to draw in tourists from around the world. With a focus on diversity and the spiritual heritage of the country, this tourism advertising campaign effectively enhances India’s image as an exotic destination.
8. ALPITOUR by GA Agency
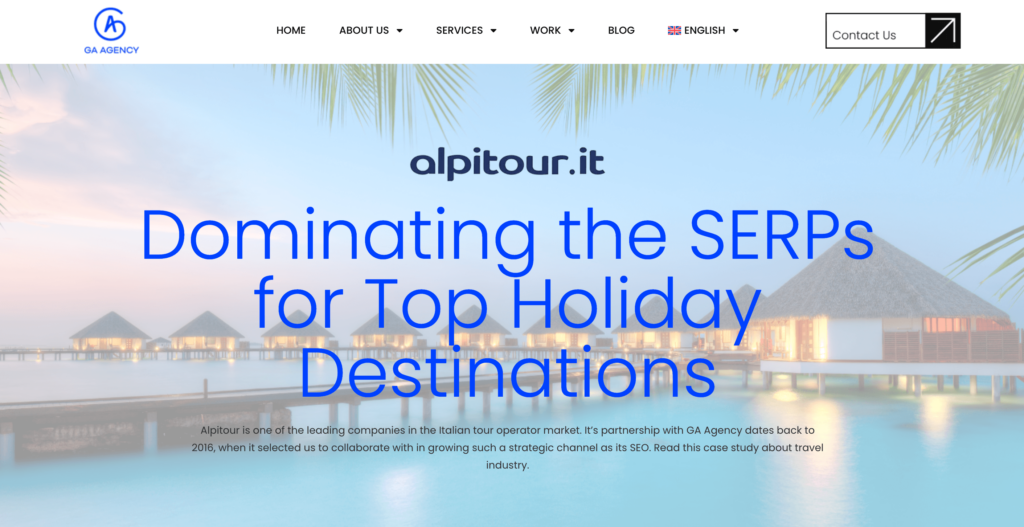
This campaign by the GA Agency for Alpitor shows how effective travel agency marketing can be when SEO and content marketing are combined. The goal of the campaign was to improve Alpitour’s visibility for key holiday terms like “package holidays” and “last-minute holidays,” targeting SERPs for destinations such as the Maldives, the Red Sea, and the Canary Islands. GA Agency improved the website by researching keywords, updating existing content, adding new targeted content, and enhancing the site structure for better search engine recognition.
9. Singapore’s “Passion Made Possible”
Singapore’s campaign is designed to showcase the city-state as more than just a stopover destination, but a place where passions are realized. Launched in 2017, the tourism advertising campaign focuses on the diverse passions of its visitors, whether they are foodies, explorers, or culture seekers. By aligning the city’s offerings with the personal interests of travelers, Singapore has effectively strengthened its position as a must-visit global destination.
10. Dubai’s “Dubai, Discover all that’s possible”
“Dubai, Discover all that’s possible” destination marketing campaign helps position Dubai as a luxury and adventure tourism hub. The city uses stunning visuals of its skyscrapers, desert adventures, and cultural sites to attract a wide range of tourists. To capture the attention of a global audience, it is a crucial step to find a digital marketing agency in Dubai to ensure a collaboration that helps Dubai to display itself as a must-visit destination. This marketing campaign’s success is evident in Dubai’s tourism figures, as it continues to be one of the most visited cities in the world.
11. Canada’s “Keep Exploring”
Canada is famous for its natural beauty and diverse cities. Thus, Canada’s tourism marketing aims to highlight these qualities to attract international tourists.The “Keep Exploring” tagline invites tourists to discover the country’s extensive offerings from coast to coast, including remote natural landscapes and diverse city cultures. This inclusive and inviting message brought in this great destination marketing campaign has helped boost Canada’s tourism industry significantly.
12. South Africa’s “Meet South Africa”
South Africa’s campaign highlights the country’s rich cultural heritage and natural wonders. By promoting experiences like safari adventures, vineyard tours, and vibrant urban life in Cape Town and Johannesburg, South Africa has diversified its appeal and attracted tourists interested in both adventure and cultural enrichment.
13. “Visit Britain” Campaign
From the Scottish Highlands to the streets of London, the “Visit Britain” tourism marketing campaign emphasizes Britain’s iconic landmarks and traditional experiences, such as afternoon tea and the Royal palaces. The use of social media campaigns featuring user-generated content has also played a critical role in engaging potential tourists. As we can see, the UK’s tourism strategy focuses on the rich historical and cultural fabric of the country.
14. “Visit Florida” Campaign by Spark
Florida’s official tourism marketing corporation partnered with Spark, an integrated marketing agency, to attract more domestic and international visitors. The campaign benefited from a mix of search engine marketing, content marketing, and highly targeted social media ads to promote various attractions within the state, from beaches to theme parks.